Stefan Stefanov

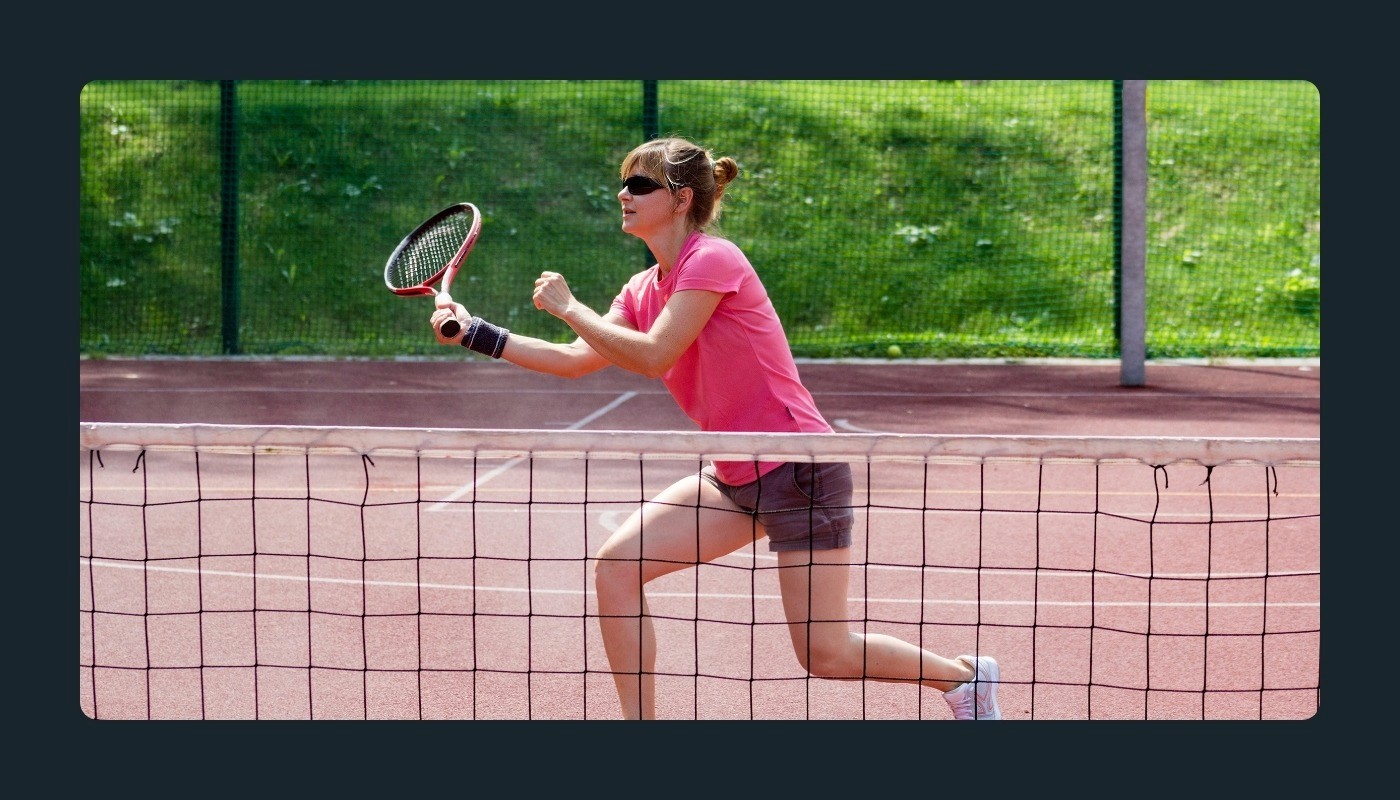
A volley in tennis is any shot you hit before the ball bounces on the court. Most volleys happen near the net, but a player can technically hit one from anywhere on the playing surface.
Many recreational players avoid the net because the stroke feels rushed and unfamiliar. But volley technique may actually be simpler than most other shots once you understand a few basics. Below is a step-by-step guide on how to hit a volley in tennis with more control and genuine confidence.
What Is a Volley in Tennis?
A clear definition helps before diving into technique.
Definition and Purpose
According to the International Tennis Federation (ITF) Tennis Glossary, a volley is a shot where the ball is hit before the ball touches the ground. Volleys are most often played close to the net, but they can happen anywhere on the court.
The main goal of a tennis volley is to pressure your opponent by cutting their reaction time. Standing closer to the net also opens up sharper angles, making your shots harder to return. Note that a half volley is a different shot entirely, where you hit the ball immediately after the bounce while the ball is still rising.
Step-by-Step Volley Technique
Every solid volley shares a few key ingredients: the right grip, good positioning, early preparation, and a compact stroke. Working through these seven steps may help you build a reliable net game faster than jumping into match play.
Step 1: Hold a Continental Grip
The continental grip is the standard for all volleys, both forehand and backhand. Using one grip for both sides saves crucial time at the net.
To find the continental grip:
Hold the racquet as if you were shaking hands with the handle
Place the base knuckle of your index finger on bevel 2
Spread your fingers slightly apart for extra stability
The continental grip keeps the racquet face naturally open, which helps you slice under the ball and keep your volleys low. Many recreational players default to their forehand grip at the net, but that typically makes backhand volleys difficult.
Step 2: Get Into the Ready Position
Your net ready position looks slightly different from a baseline stance. Your weight should lean forward, with shoulders ahead of your feet. Knees stay soft, and the racquet stays up in front of your chest. Key checkpoints:
Feet roughly shoulder-width apart
Knees soft and slightly bent
Racquet head up, around chest height
Non-dominant hand on the racquet throat
Eyes level and focused forward
Step 3: Use a Split Step
Right before your opponent makes contact with the ball, take a small hop, landing on both feet at the same time. The split step lets you push off quickly in any direction. The timing matters more than the height of the jump. A small, quick hop timed with your opponent's contact tends to work better than a big leap.
Step 4: Turn Your Shoulders and Prepare Early
Once you read which side the ball is coming to, rotate your shoulders in that direction. Keep the racquet preparation short and compact. A volley uses little to no backswing. You simply turn your upper body and bring the racquet slightly to the side.
One helpful image: imagine holding a tray in front of you, then turning your body to present the tray sideways. Overpreparing is one of the most common volley errors, and keeping a short preparation path tends to improve consistency.
Step 5: Step Forward Into the Ball
As you prepare, step diagonally forward toward the ball with your opposite foot. For a forehand volley (right-handed player), your left foot steps forward. For a backhand volley, your right foot steps forward.
Stepping forward adds weight and depth without needing a big swing. USTA Player Development recommends a simple cue for beginners: "squeeze and freeze." Squeeze the grip firmly at contact and freeze your momentum. The harder you step and squeeze, the deeper the ball tends to travel.
Step 6: Make Contact Out in Front
The ideal contact point is well out in front of your body, not beside you or behind you. Meeting the ball early gives you better control over direction and lets you use the incoming pace.
On lower volleys below the net, open the racquet face more and aim for depth. On higher volleys above the net, direct the ball downward into the court.
Step 7: Keep the Follow-Through Short
A volley follow-through is much shorter than a groundstroke follow-through. After contact, guide the racquet briefly toward your target and stop. The motion should feel more like a firm push than a full swing.
After completing the shot, recover back to a balanced ready position for the next ball. Watching footage of your net play after a session can show you whether your recovery habits are helping or hurting.
Common Volley Mistakes to Avoid
Certain errors show up repeatedly among club and recreational players. Spotting them early saves months of frustration.
Taking a full backswing: A volley is a compact, short stroke. A big swing typically causes mishits and loss of control.
Using the wrong grip: Sticking with a forehand grip at the net tends to make backhand volleys very difficult. Switching to a continental grip typically resolves the problem.
Standing too upright: Staying tall and stiff reduces your ability to react. A slight forward lean with bent knees helps you move in any direction.
Making contact too late: Letting the ball travel past your front shoulder often leads to weak, floating shots. Meet the ball out in front.
Gripping too tightly: A tight grip before contact reduces feel and touch. Keep a relaxed hold, then firm up right at the moment of contact.
Recording your sessions with a video analysis app can help you spot these errors far more easily than trying to self-correct in real time.
Volley Drills to Build Better Feel
Practicing volley drills regularly may improve your hands, timing, and footwork faster than match play alone.
Catch and Push Drill
Have a partner toss balls gently into your racquet from a short distance. Absorb the ball's pace and redirect it softly into the service box. Focus on feeling the ball push the racquet face back slightly while your arm moves forward. Ten to 20 repetitions on each side can help build solid touch.
Volley to Yourself
A partner feeds a ball, and you pop it up gently with your racquet, then catch it with your non-dominant hand. A drill that teaches soft hands and ball-watching.
Wall Volleys
Stand about six to eight feet from a wall and volley continuously. The ball comes back fast, forcing you to keep a compact stroke and react quickly.
Two Up, Two Back
A doubles-style drill where two players start at the service line and two at the baseline. The net players volley while the baseline players hit groundstrokes. Play out the point for realistic pressure.
Reviewing your point-by-point performance after a drill session may reveal patterns you missed during practice.
When to Come to the Net
Knowing when to approach the net matters almost as much as having good technique. Good opportunities to move forward include:
After hitting a deep approach shot that pushes your opponent behind the baseline
After a strong serve, especially on a serve-and-volley play
When your opponent hits a short or weak ball you can attack
During doubles, where net play is a fundamental part of overall match strategy
Coming forward works best when your opponent is off balance. Capturing your matches with a match recording tool can show you exactly which approach patterns worked and which left you exposed.
Conclusion
A strong volley comes down to a few fundamentals: continental grip, compact preparation, forward contact, and solid footwork. Practicing consistently, even for a few minutes each session, may help you feel much more comfortable at the net.
Spintip can help you sharpen your net game faster. Place your phone behind the baseline, tap start, and go play. The app auto-calibrates the court and records your entire session with zero setup. After you finish, open
VIEWPOINT to swipe through every point and review exactly how your volleys performed, with dead space already removed so you can cover a full match in a fraction of the time. Each point carries a PULSE performance score, so you can track whether your net play is trending up or down over weeks of practice.
SAGE, the continuously improving AI coach, can surface tactical cues during your session and deliver a post-game summary of areas to work on. For deeper guidance, pick any volley you struggled with, record your question directly on that point, and send it through ANALYZE to a certified coach for personalized video or voice feedback.
Download Spintip free and start reviewing your game today.
What is a volley in tennis?
What grip should I use for volleys?
How is a volley different from a groundstroke?
What's a volley in tennis doubles specifically?
How can I practice volleys by myself?


